Showing posts with label home. Show all posts

Sunday, 11 May 2014

Homemade Cat Tree

Our Cat Lemmy is always diving all over the place but always on places he should be going so we decided to make him a cat tree so that he could go up, without being told to get down!

Originally we were going to buy one from the shops but they are soooo expensive and never in colours that go with your decor so I got designing and before we knew it we had bought everything we need for it and got to work.


What you will need:

Plank of wood
black paint
twine - we used this bakers divine twine (2 rolls) to get a black and white effect but you can use any
shelves - we got ours from homebase and used 2 small, 1 medium and 1 large
doormat or rug - we got a long floor runner for cheap from The Range (pic used on the website is wrong)
Glue gun
No more nails
Drill, Raw Plugs & Screws
Fabric storage box - Optional (again we got ours from The Range)


Step 1 - Scratching post

I got a large plank of wood that was long enough to reach from my roof to the floor and started by painting it black then leaving it over night to dry. I then took the no more nails and used a paint brush to cover a 20cm section of the wood, then wrapped the twine round the wood, on top of the no more nails. Repeat this step until you run out of twine.

I also had a section at the bottom of the wood where I had ran out of twine so I cut a small strip of my rug and used my glue gun to attach it to the remaining piece of wood. You could choose to do this all the way down if you don't want to use twine.


Step 2 - The Shelves

I took the mat I bought and cut it so it was the same shapes as the tops of my shelves.

I then glued Velcro in each corner of the shelves and left to dry (which doesn't take long if you use a glue gun). I stuck the other side of the Velcro on top and put a bit of glue on top of each, then quickly placing the mat on top of the shelf and press down. Once dry you can remove the mat from the shelf and re-attach any time you need to clean it.

Tip: don't use too much glue otherwise it will go over the sides of your Velcro and you won't be able to un-stick it later


Step 3 - Assemble the Cat Tree

We took the scratching post and placed it at an angle on the corner of the room then using a couple of drawing pins, we pinned it in place so it didn't fall down for the time being

We then measured where each of the shelves needed to go so that our cat could step in between them and we also made sure the were right up against the scratching post so that when drilled in place then post can't move and you can remove the pins.

The only shelf we didn't do next to the post as the small one second from the top - we did this one out a bit more so it was easier for him to position himself onto the top shelf.


Step 4 - Hiding Space

Lemmy loves hiding in cardboard boxes so we always feel bad about throwing them out. I wanted to incorporate this into his Cat Tree but thought just sticking a cardboard box on it would look messy so we bought this small fabric box and glued Velcro on the bottom, then filled it with cardboard and packaging paper. you can then use the Velcro to attach it to any shelf you want and can easily take it off if you cat doesn't like it or you want to clean the mats. When we had finished he jumped straight in this box and didn't come out until I cooked Chicken later on that night!


Hope your cat loves it as much as ours does!

I'll be back,


Thursday, 7 November 2013

Crafts for your new home

Moving into a new home is an exciting but stressful time! You've spent years looking at lovely things in shops saying to yourself "when I have my own house, I'll have something like this", and then when you actually buy somewhere your mind goes blank!

I spent the first month of living in my new flat flicking through house magazines and wondering how the hell I was going to be able to afford to make my home look beautiful. The thing was that there was very few things within those pages to inspire me, most if it kind of looked the same...I wanted something that was a bit more personal and wasn't going to cost the earth. It was then I started to really get into my crafting!

You can't go into a room in my house without seeing something handmade and it really makes my day when someone complements your décor, knowing that it's a little part of you.

My friend Ashley got in contact this week after moving into her very own home, asking for some help decorating. Hopefully these tutorials will help inspire you to make your home as cheerful as your personality!!!


So what better way to kick off than with the first thing your guests will see as they come in...the coat rack!

These 3 coat racks are completely different but would be a real feature piece right at your front door and all of them could be personalised. for example:

If you and your partner were animals, what would you be and why...got them? 
Why not turn that into your coat rack and then you have a fun story to tell people while hanging up your coats!

           animal coat rack - bright nest                          twig coat rack - ali does it


But no-one will see your beautiful pieces of art work without some good lighting. I've found a lamp and wall light to show you that you can have more light in your life than those plastic cones from B&Q!


DIY Decor Tutorial: Faux Table Lamps        
                    canvas light - design sponge      

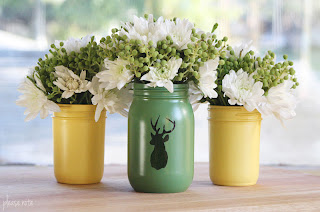
Everyone always needs a vase at the ready for when they get that unexpected bouquet and these mason jar vases can be personalised to match the colours your choose for the walls. Or if you just want something small to show off those wild flowers you are growing in your garden, then this balloon vase made me smile so much.

created at: 04/10/2011  
                       balloon vase - curbly                          jar vase - please note paper


Buying artwork for your walls can really empty your bank but the two ideas below are really inexpensive ways to fill up that empty wall space.

       
            wallpaper art - thrifty décor chic                           paper butterflies - kerry axley


and here is one for your floor...

DIY-home-decor-stenciled-rug-tutorial

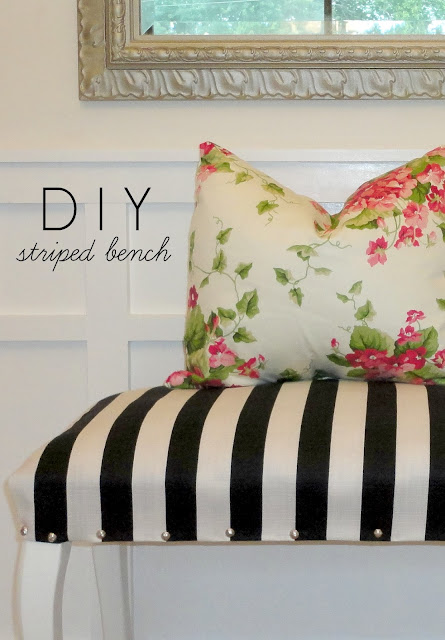
So after all that walking around your house, your guests are going to need somewhere to sit. I can't believe how simple this bench is to make considering how expensive they can be in the shops! 


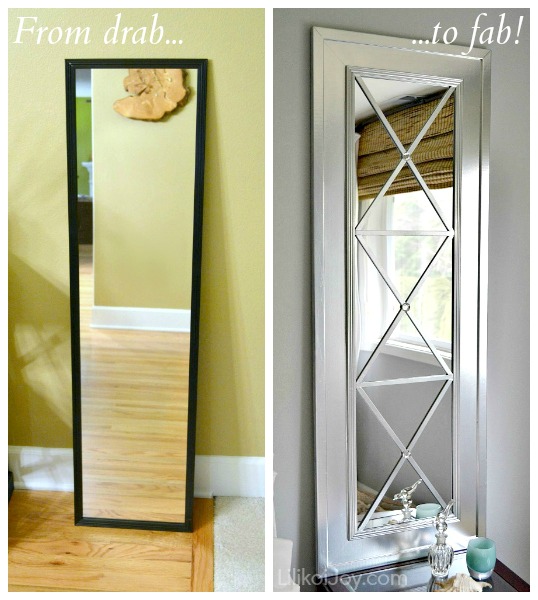
but what you asked for was ideas with mirrors and boy have I found some. The first takes a simple mirror frame and turns it into a an upmarket classy lady!

Upcycle a cheap door mirror into a glam wall mirror tutorial

or you can use beads or beans to add some texture to the wood.

a98110_1000_bearframes.jpg

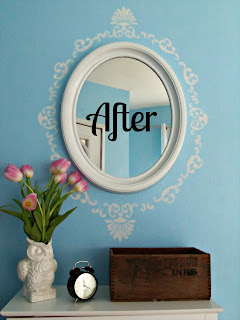
If you are happy with the actual mirror frame then why not stencil around it. You could do an Alice through the looking glass theme or make your mirror look like a vintage hand mirror.


Turn your mirrors into artwork with these tutorials. I love the touch of ribbon with the glass.

        
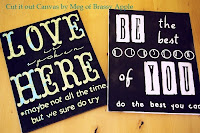
    love mirrors - HGTV                     text on mirrors - brassy apple


I love the idea of turning something old into something useful and this table is just gorgeous! Brilliant for when you have your friends round for a drink.


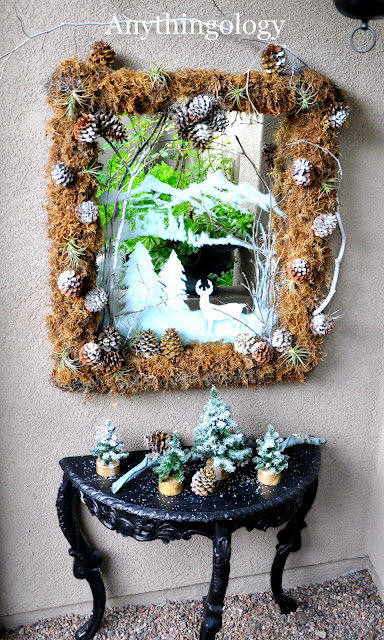
And last but not least, here is an amazing focal point for Christmas. You can never have too much outdoors indoors!


There are so many ideas out there to help you transform your home and hopefully these will help to get you on your way! 

I'll be back xx


About This Blog

About This Blog
A blog for fun and unusual Craft tutorials This year I will be learning a new craft every month - if there is a craft you would like to learn, let me know

Search This Blog

Featured Post Via Labels

Instagram Photo Gallery